
Google Analytics is one of the best online tools available for tracking website visitor numbers and user behaviour. It tells you how many people visited your website and if and where they clicked; plus, how much time users spent on your site, the pages where they exited and so much more. This information provides valuable insights into your customer journey and the effectiveness of your site that could be used to inform your business strategy.
Google Analytics is a free tool and is available for everyone who has a website and an email address. If you have an existing Google account (Gmail for example), you can use it to sign in to Google Analytics.
Universal Analytics & Google Analytics 4
The current Universal Analytics platform is being replaced by Google Analytics 4 (GA4) on the 1 July 2023. Google promises that its new product will deliver a range of improvements to customer journey tracking, user engagement analysis and goal recording.
After 1 July 2023, you won’t be able to record visitor stats using Universal Analytics. This means that it pays to set up GA4 now so you can have historical data built up to support trend and pattern analysis moving forward.
What’s more, as of the second quarter of 2022, you will no longer be able to create an account using Universal Analytics. Therefore, we recommend that you set up Google Analytics 4 using the following instructions.
1. How To Set Up A Google Analytics Account
We have created a step-by-step guide to setting up Google Analytics 4. You don’t need to learn how to code and you don’t need specialist knowledge, just follow our simple instructions.
The following setup process uses the direct-to-website method and is relevant to businesses with a WordPress website.
1.1 Logging into Google Analytics
Step 1: Go to Google Analytics – https://analytics.google.com
Step 2: Login (or sign up) using your Google account or business email address.
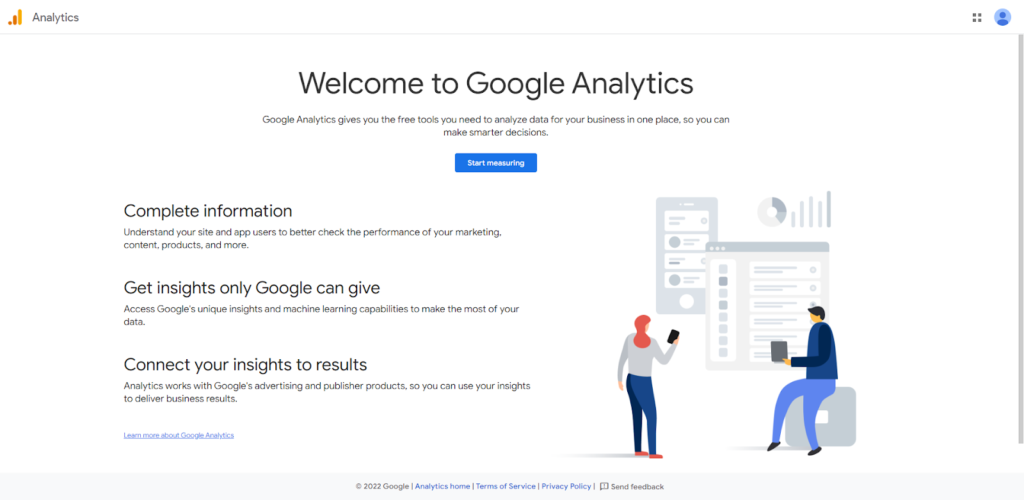
Step 3: You’ll then find yourself at a welcome screen, click the ‘Start measuring’ button.
1.2 Google Analytics Account Set Up
Google Analytics 4 uses two levels; the Account level and the Property level. A property is defined as a website, mobile application or similar that can be identified with a unique tracking ID. One account can hold up to 100 properties. In the below table, you will see how this structure works.
Company A has three websites but because each account holds up to 100 properties, Company A can manage all three websites (properties) from just one account. It is easy to move between websites to see the unique analytic results for each.
| Account Level | Property Level |
|---|---|
| Company A | companyawebsite1.com |
| companyawebsite2.com | |
| companyawebsite3.com |
The next step is the set up page where you will be asked to name your account. You may wish to use your business name as your account name or, as you can manage up to 100 properties through one Google Account, you may want to opt for something broader.
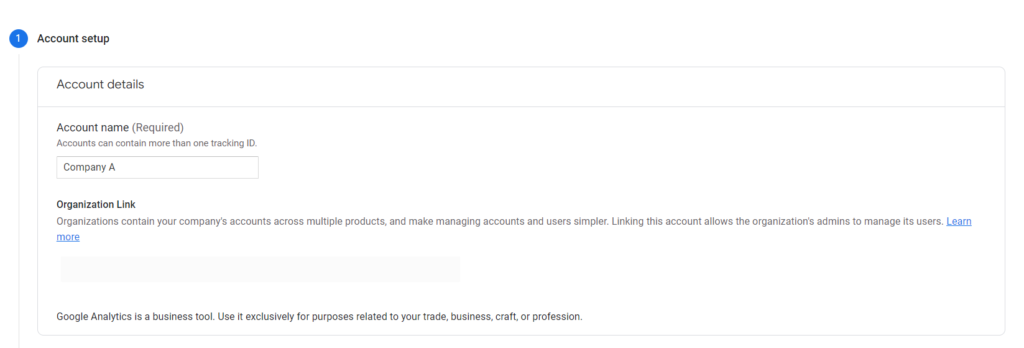
You will then be asked to approve data sharing with Google. The data will be used to perform system critical operations and in rare cases, for legal reasons as described in Google’s Privacy Policy but otherwise, your data will be secure and remain confidential.
Tick all the boxes, then click the ‘Next’ button.

1.3 Google Analytics 4 Property Setup
Upon clicking next, you’ll be asked to add a specific ‘property’. In the interests of clarity, it might be sensible to name your property with your website domain URL but you can choose any reference. Remember, you can add multiple properties to one Google Analytics account.
Step 1: Add your website domain URL.
Step 2: Provide the Reporting Time Zone, and your preferred currency.
Step 3: As Universal Analytics will soon cease to exist, you can skip the ‘Advanced Options’ and click ‘Next’.

1.4 About Your Business
Google Analytics 4 will help tailor your experience depending on the business information that you provide in this section.
Step 1: Select your industry category.
Step 2: Choose the right business size for the number of employees you have.
Step 3: Where it asks: “How do you intend to use Google Analytics with your business? (Check all that apply)” If you are unsure, there’s no harm in ticking every box because it’s likely you will want to do most, if not all of the things on the list at some point.
Step 4: Click ‘Create’.
Step 5: Accept the ‘Terms & Conditions’ to complete the account setup and property creation.

3) Inserting Google Analytics 4 Code Into Your Website
The next part of the implementation of Google Analytics 4 is the installation of the tracking code to your website. This connects Google Analytics 4 with your website.
Step 1: Login to your Google Analytics account.
Step 2: Click ‘Admin’ – found on the lower left corner of the dashboard.
Step 3: Go to the ‘Property’ column.
Step 4: Choose ‘Data Streams’. This will open a slider from the right side of your screen.
Step 5: Choose the data stream of your website.
Step 6: Click ‘View Tag Instructions’. This will open another slider from the right side of your screen.
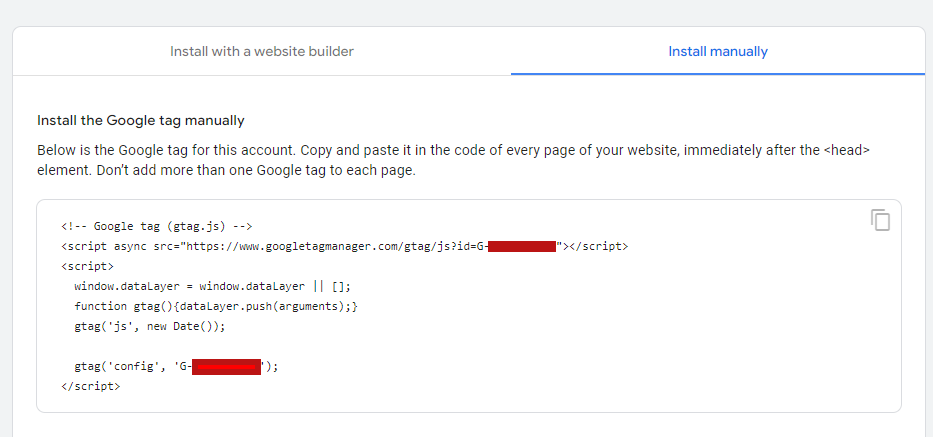
Step 7: Then you will be asked to choose how you want your code installed. Go ahead and choose ‘Install manually’.

Step 8: Copy the code provided.
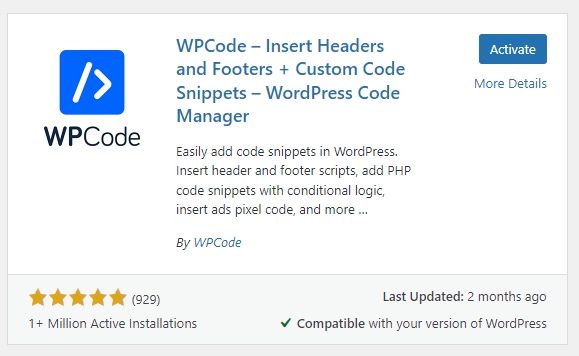
Step 9: Login to your WordPress website, go to Plugins and then click ‘Add New’.
Step 10: Install and Activate ‘WP Code – Insert Headers & Footers’.
Step 11: Once the plugin has been installed, go to ‘Code Snippets’ and select ‘Header & Footer’. Paste the code you copied from Google Analytics.
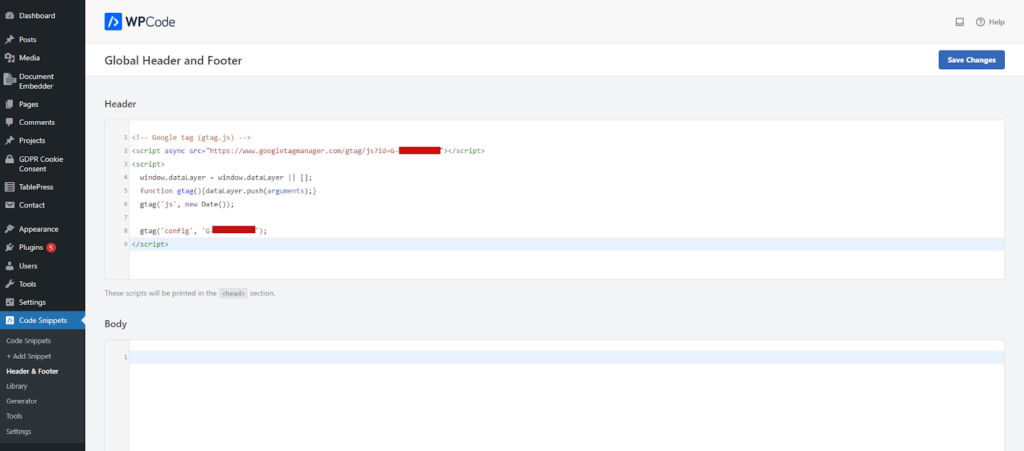
Step 12: Save changes.
Checking If Your Google Analytics Set Up Works
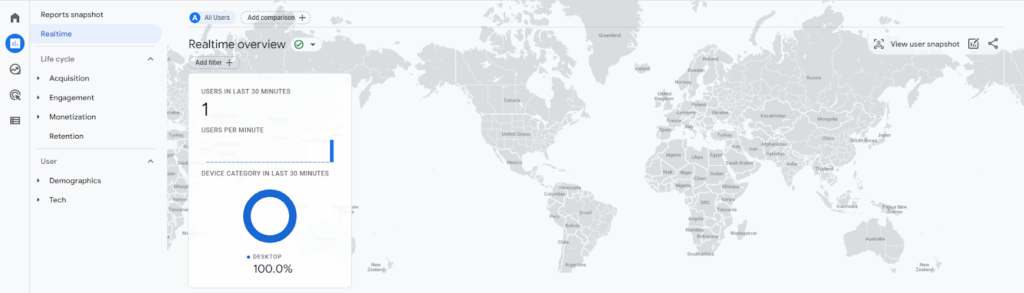
It is easy to check that Google Analytics is working, particularly if you have a new site with few users. Log back in to your Google Analytics 4 account and go to ‘Real-time’.
If you then visit your site from a different browser window, you should see your page view counted after a few seconds. Don’t panic if it’s not appearing immediately, after initial installation it can take some time to register, just keep checking back.
Once you see your page view counted, you can be confident that your implementation of Google Analytics 4 has been successful.
7. Setting up Events and Conversions in Google Analytics 4
Google Analytics 4 enables you to set different types of events for your website. This means that you can track specific user actions such as sales, clicks on contact buttons, or the use of enquiry forms which is particularly useful for marketing campaigns. This part requires more advanced knowledge of tracking implementation and some knowledge of how to use Google Tag Manager.
If you need assistance in setting up events and conversions in Google Analytics 4, one of our partners, Almond Marketing – a digital marketing agency based in London, can help. Click here for a free consultation.
Summary
Google Analytics is a very powerful tool for any small business to have in its armoury. Knowing how many people visit your website, where they have come from and how they behave can shape important business decisions. Should you invest more in digital marketing, for example, during periods when your website is popular? Might it be better to shift your energy to more traditional sales activities if visitor numbers are low?
Google Analytics will also tell you where visitors come from. Is your social media activity leading to visitors? Is there another website that refers people to you? Are customers finding you on Google – or another search engine?
By signing up to Google’s Analytics platform, you can have the data you need to hand.
For more information on websites and tracking for your new business’s online presence, visit the Branding and Marketing module on My New Venture.